Struggling with leaks, pressure, or weakness down there? You're not alone. Many Filipinas face these concerns, especially after childbirth or as we age. The good news? You can begin pelvic floor rehabilitation at home — by yourself — using simple, proven steps 💗
🙋♀️ Why Home Rehab Works
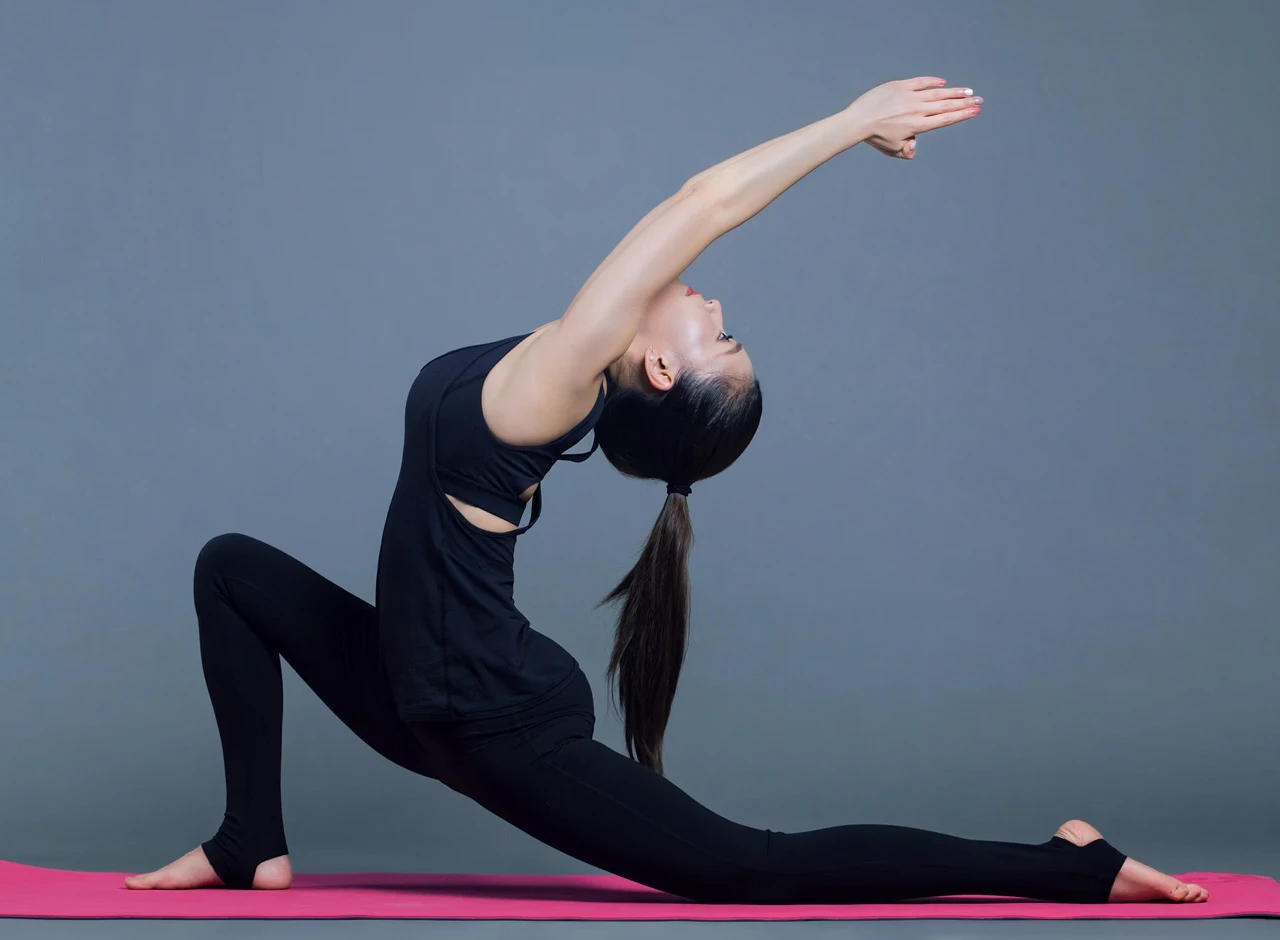
Rehabilitating your pelvic floor muscles doesn't always require a clinic. In fact, consistent daily practice at home can make a huge difference. Whether you're recovering postpartum or managing leaks, these gentle routines can help you regain strength and confidence.
Moreover, you don’t need fancy machines or hours of time — just a few minutes and your commitment 🌸
Step 1: Understand Your Pelvic Floor
Your pelvic floor is a group of muscles that support your bladder, uterus, and rectum. When these muscles become weak or tight, they may lead to discomfort, leakage, or a heavy sensation.
Before starting rehab, it helps to identify these muscles. For example, you can try to stop your urine flow midstream. The muscles you use are your pelvic floor (but don’t make this a regular practice!).
Step 2: Start with Kegel Exercises
Kegels are the foundation of pelvic rehab. They’re simple contractions that target and train your pelvic muscles. Best of all, you can do them anywhere — even while lying in bed.
👣 How to Perform Kegels:
- Relax your body, either sitting or lying down.
- Squeeze your pelvic floor muscles gently (as if stopping pee).
- Hold for 3–5 seconds, then release for the same amount of time.
- Repeat 10–15 times, twice a day.
Importantly, be careful not to tighten your stomach or thighs. Only your pelvic floor should engage during these exercises.
Step 3: Use Breathing to Support the Muscles
Breathwork is often overlooked in pelvic floor rehabilitation. However, deep diaphragmatic breathing helps you connect to your core and reduce tension.
Try this: Inhale deeply through your nose, allowing your belly to rise. Then, as you exhale through your mouth, gently lift your pelvic muscles. This mindful connection supports both strength and relaxation.
Step 4: Add Tools for Extra Support
Once you’ve built awareness, you can level up with simple tools like Kegel balls, app-controlled balls or biofeedback devices. These provide light resistance and guidance to ensure you’re activating the correct muscles.
Start with a beginner-friendly set. For instance, insert the Kegel ball, while lying down, then do light squeezes for 10 minutes per session. Also, clean the tool thoroughly before and after use.
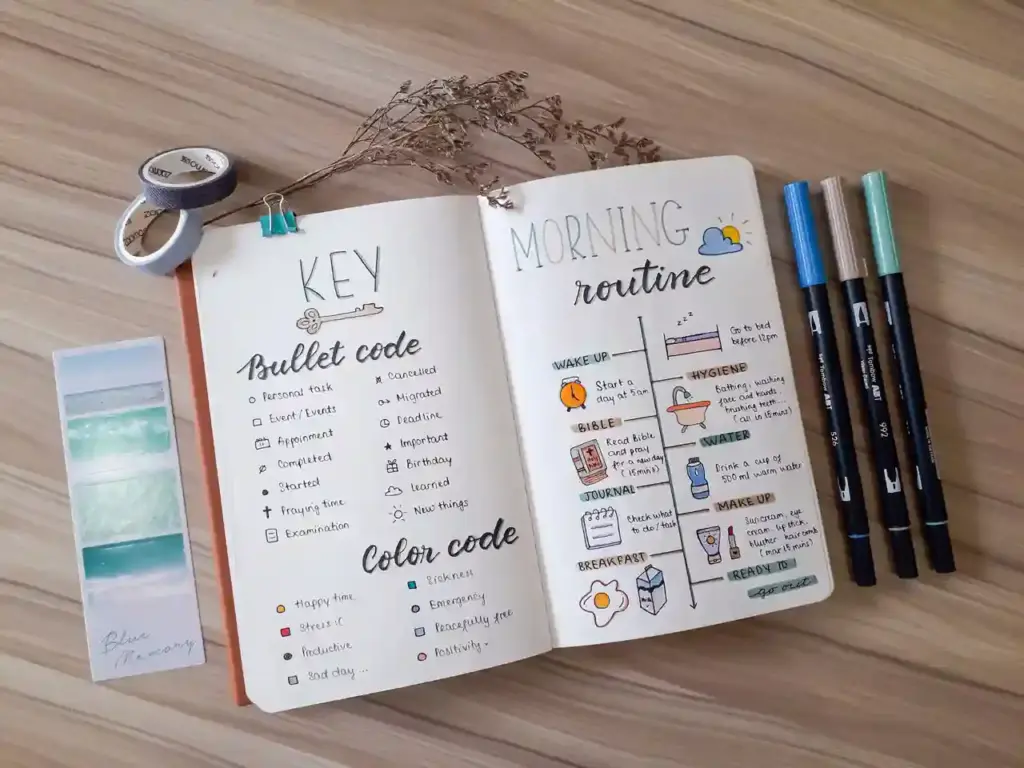
Step 5: Build a Daily Routine
Consistency is key. Although a single session may feel small, doing it daily creates real progress. You don't have to spend a long time — just stick to it 💪
📋 Sample Home Routine:
- 🌅 Morning: 5 minutes of Kegels in bed
- 🧘♀️ Midday: Deep breathing with light squeezes
- 🌙 Evening: Use Kegel ball - Ben wa balls, while relaxing at home
By spreading out your exercises, you support your muscles without overloading them.
Step 6: Monitor Your Progress
Keep track of how your body feels. For example, are the leaks improving? Is your core more stable? Even small changes matter.
Celebrate progress, whether it's a week without leaks or simply completing your routine. Confidence builds over time 🌟
❓Frequently Asked Questions
➡️ How long does pelvic floor rehab take?
Many women notice improvement within 4–6 weeks of daily practice. For long-term change, aim to continue for several months.
➡️ Can I do this even after menopause?
Absolutely. Pelvic floor rehabilitation is beneficial at any age. In fact, it’s especially helpful for postmenopausal women experiencing weakness or dryness.
➡️ Do I need a doctor’s advice?
If you experience pain, pressure, or severe leaks, it’s a good idea to consult your OB-GYN. They can guide you toward personalized care.
🌸 Final Thoughts: You Can Heal From Home 🌷
Pelvic floor rehabilitation doesn’t require expensive clinics. With gentle effort and the right tools, you can restore your strength, confidence, and comfort — all from the safety of your home.
💖 Need help getting started? Explore our beginner-safe Kegel ball kits — designed with Filipina comfort and results in mind.
Credit photos: Unsplash
Struggling with leaks, pressure, or weakness down there? You're not alone. Many Filipinas face these concerns, especially after childbirth or as we age. The good news? You can begin pelvic floor rehabilitation at home — by yourself — using simple, proven steps 💗
🙋♀️ Why Home Rehab Works
Rehabilitating your pelvic floor muscles doesn't always require a clinic. In fact, consistent daily practice at home can make a huge difference. Whether you're recovering postpartum or managing leaks, these gentle routines can help you regain strength and confidence.
Moreover, you don’t need fancy machines or hours of time — just a few minutes and your commitment 🌸
Step 1: Understand Your Pelvic Floor
Your pelvic floor is a group of muscles that support your bladder, uterus, and rectum. When these muscles become weak or tight, they may lead to discomfort, leakage, or a heavy sensation.
Before starting rehab, it helps to identify these muscles. For example, you can try to stop your urine flow midstream. The muscles you use are your pelvic floor (but don’t make this a regular practice!).
Step 2: Start with Kegel Exercises
Kegels are the foundation of pelvic rehab. They’re simple contractions that target and train your pelvic muscles. Best of all, you can do them anywhere — even while lying in bed.
👣 How to Perform Kegels:
- Relax your body, either sitting or lying down.
- Squeeze your pelvic floor muscles gently (as if stopping pee).
- Hold for 3–5 seconds, then release for the same amount of time.
- Repeat 10–15 times, twice a day.
Importantly, be careful not to tighten your stomach or thighs. Only your pelvic floor should engage during these exercises.
Step 3: Use Breathing to Support the Muscles
Breathwork is often overlooked in pelvic floor rehabilitation. However, deep diaphragmatic breathing helps you connect to your core and reduce tension.
Try this: Inhale deeply through your nose, allowing your belly to rise. Then, as you exhale through your mouth, gently lift your pelvic muscles. This mindful connection supports both strength and relaxation.
Step 4: Add Tools for Extra Support
Once you’ve built awareness, you can level up with simple tools like Kegel balls, app-controlled balls or biofeedback devices. These provide light resistance and guidance to ensure you’re activating the correct muscles.
Start with a beginner-friendly set. For instance, insert the Kegel ball, while lying down, then do light squeezes for 10 minutes per session. Also, clean the tool thoroughly before and after use.
Step 5: Build a Daily Routine
Consistency is key. Although a single session may feel small, doing it daily creates real progress. You don't have to spend a long time — just stick to it 💪
📋 Sample Home Routine:
- 🌅 Morning: 5 minutes of Kegels in bed
- 🧘♀️ Midday: Deep breathing with light squeezes
- 🌙 Evening: Use Kegel ball - Ben wa balls, while relaxing at home
By spreading out your exercises, you support your muscles without overloading them.
Step 6: Monitor Your Progress
Keep track of how your body feels. For example, are the leaks improving? Is your core more stable? Even small changes matter.
Celebrate progress, whether it's a week without leaks or simply completing your routine. Confidence builds over time 🌟
❓Frequently Asked Questions
➡️ How long does pelvic floor rehab take?
Many women notice improvement within 4–6 weeks of daily practice. For long-term change, aim to continue for several months.
➡️ Can I do this even after menopause?
Absolutely. Pelvic floor rehabilitation is beneficial at any age. In fact, it’s especially helpful for postmenopausal women experiencing weakness or dryness.
➡️ Do I need a doctor’s advice?
If you experience pain, pressure, or severe leaks, it’s a good idea to consult your OB-GYN. They can guide you toward personalized care.
🌸 Final Thoughts: You Can Heal From Home 🌷
Pelvic floor rehabilitation doesn’t require expensive clinics. With gentle effort and the right tools, you can restore your strength, confidence, and comfort — all from the safety of your home.
💖 Need help getting started? Explore our beginner-safe Kegel ball kits — designed with Filipina comfort and results in mind.
Credit photos: Unsplash